
Six standalone example configurations ship with MIDAS, under each folder’s own examples/ subfolder (identical in matlab/, octave/, and GUI/). Each is a complete parameter set - not a diff on top of the default - and every field it does NOT use for its particular mode combination is set to NaN, so it’s obvious at a glance what actually matters for that run. Together they exercise every mode switch in the model.
Example1_Baseline
The recommended starting point: the fully automated, phase-diagram-driven configuration.
- P-T path via explicit peak timing (
PTmode='peak') - Major-element equilibrium from the Perplex phase diagram (
eqMode='PD') - Mn partitioning also phase-diagram-derived (
MnMode='PD',MniBMode='PD') - Spherical growth geometry (
ndim=3)
addpath('examples');
params = Example1_Baseline();
R = MIDAS_Main(params);
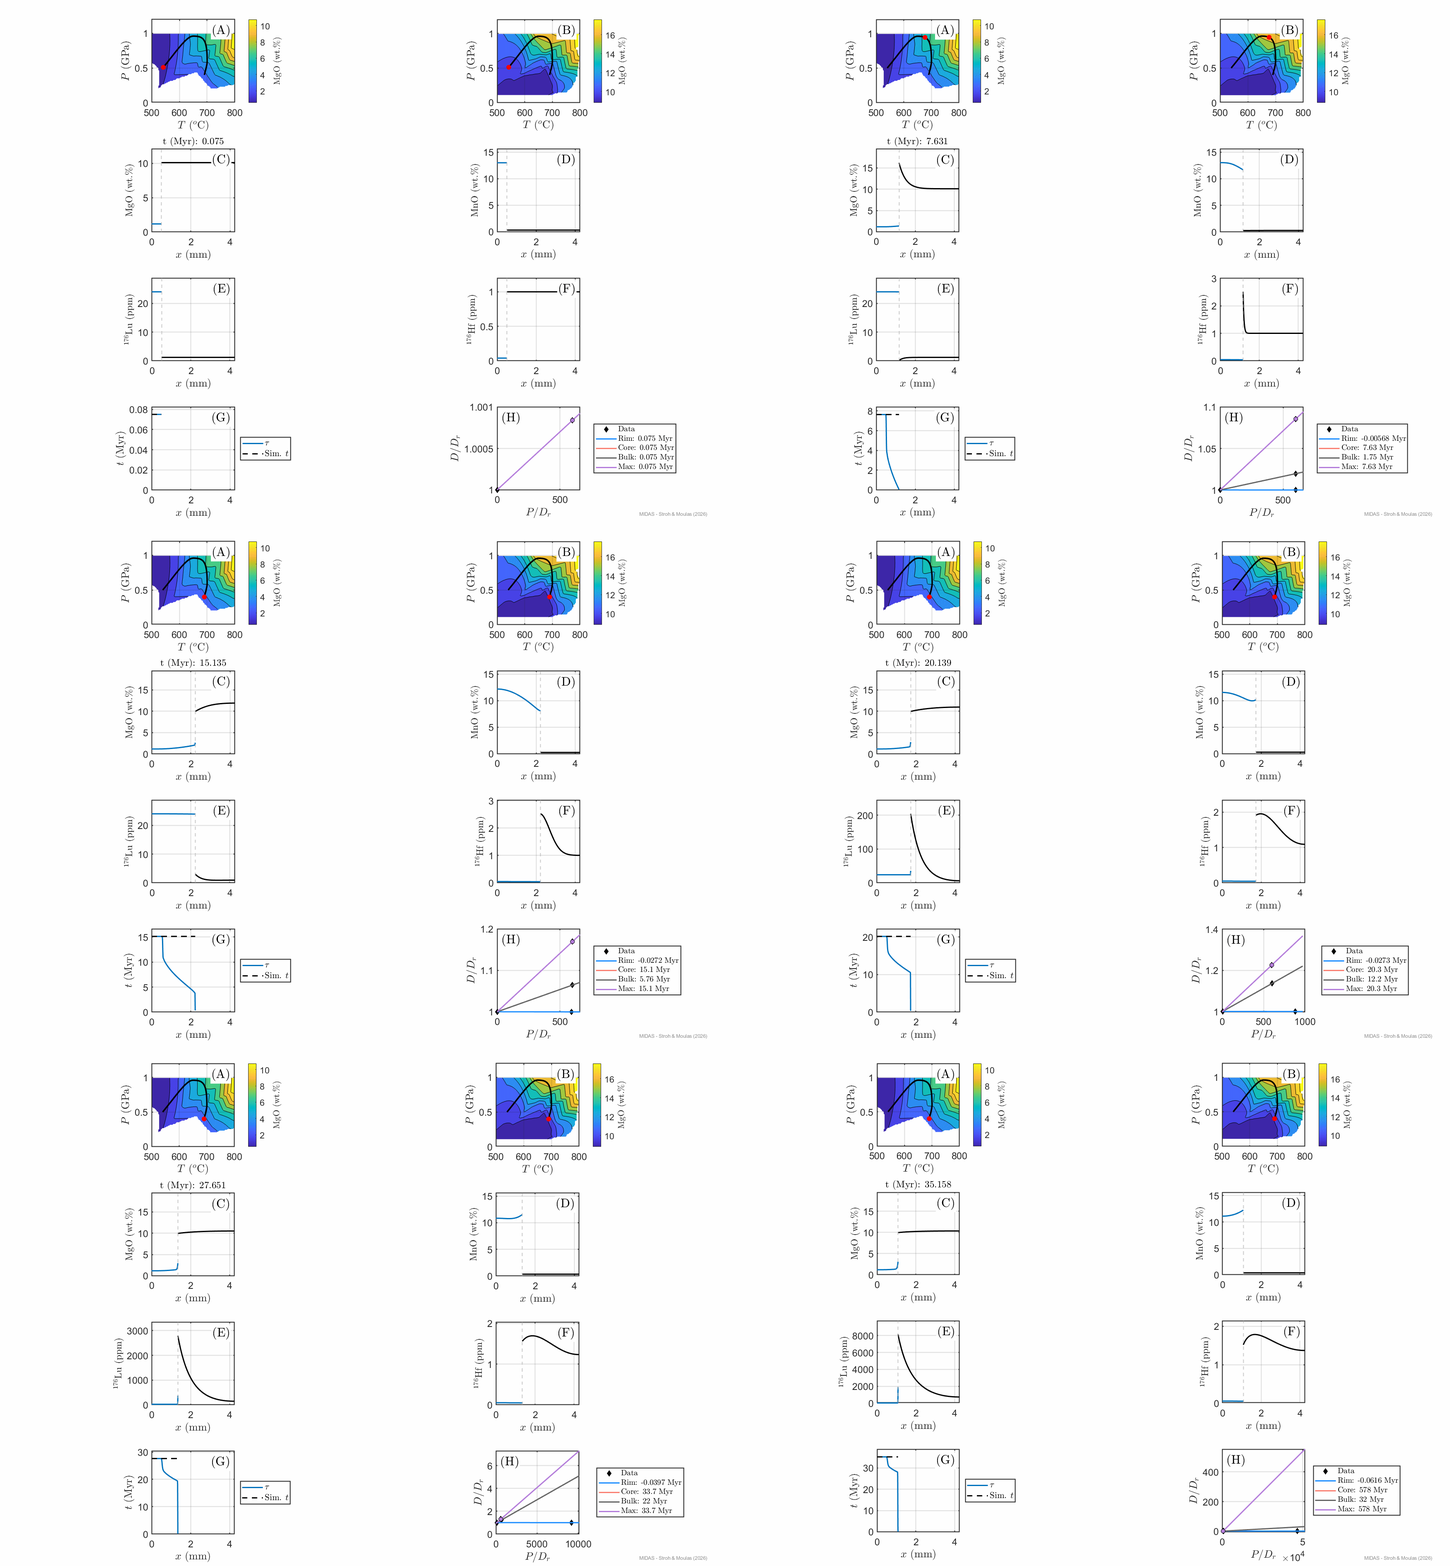
Animates the crystal/matrix interface position and composition profile evolving along the P-T-t path; frame resolution and grid are trimmed down here purely to keep the GIF small.
Example2_PolyEquilibrium
Runs with no phase-diagram file needed at all.
- Major-element equilibrium from a 3-point bilinear polynomial fit (
eqMode='poly') instead of a Perplex table - Mn partitioning and matrix reservoir specified directly (
MnMode='fixed',MniBMode='manual') - Also demonstrates
recordMode='iteration'(record every N iterations) instead of Example1’srecordMode='time', andisoRefMode='bulk'instead of'core'
Example3_ThermalBump
Demonstrates the older, simpler P-T path parameterization.
PTmode='Tbump': linear T and P paths with a single symmetric thermal pulse (delT) added on top, instead of Example1’s explicit independently-timed T/P peaks- Major-element equilibrium and Mn partitioning still phase-diagram-driven, as in Example1
- Also demonstrates
isoRefMode='wholerock'
Example4_ManualPartitioning
A hybrid configuration.
- Major elements still come from the phase diagram (
eqMode='PD', as in Example1) - Mn partitioning/reservoir specified directly instead (
MnMode='fixed',MniBMode='manual') - Useful when you trust the phase diagram for major-element equilibrium but want direct control over the trace/minor-element inputs
Example5_PlanarGeometry
Same fully automated configuration as Example1, but ndim=1 (planar growth) instead of ndim=3 (spherical) - e.g. for a tabular crystal or a 1-D approximation.
Example6_CylindricalGeometry
Same fully automated configuration as Example1, but ndim=2 (cylindrical growth) instead of ndim=3 (spherical).
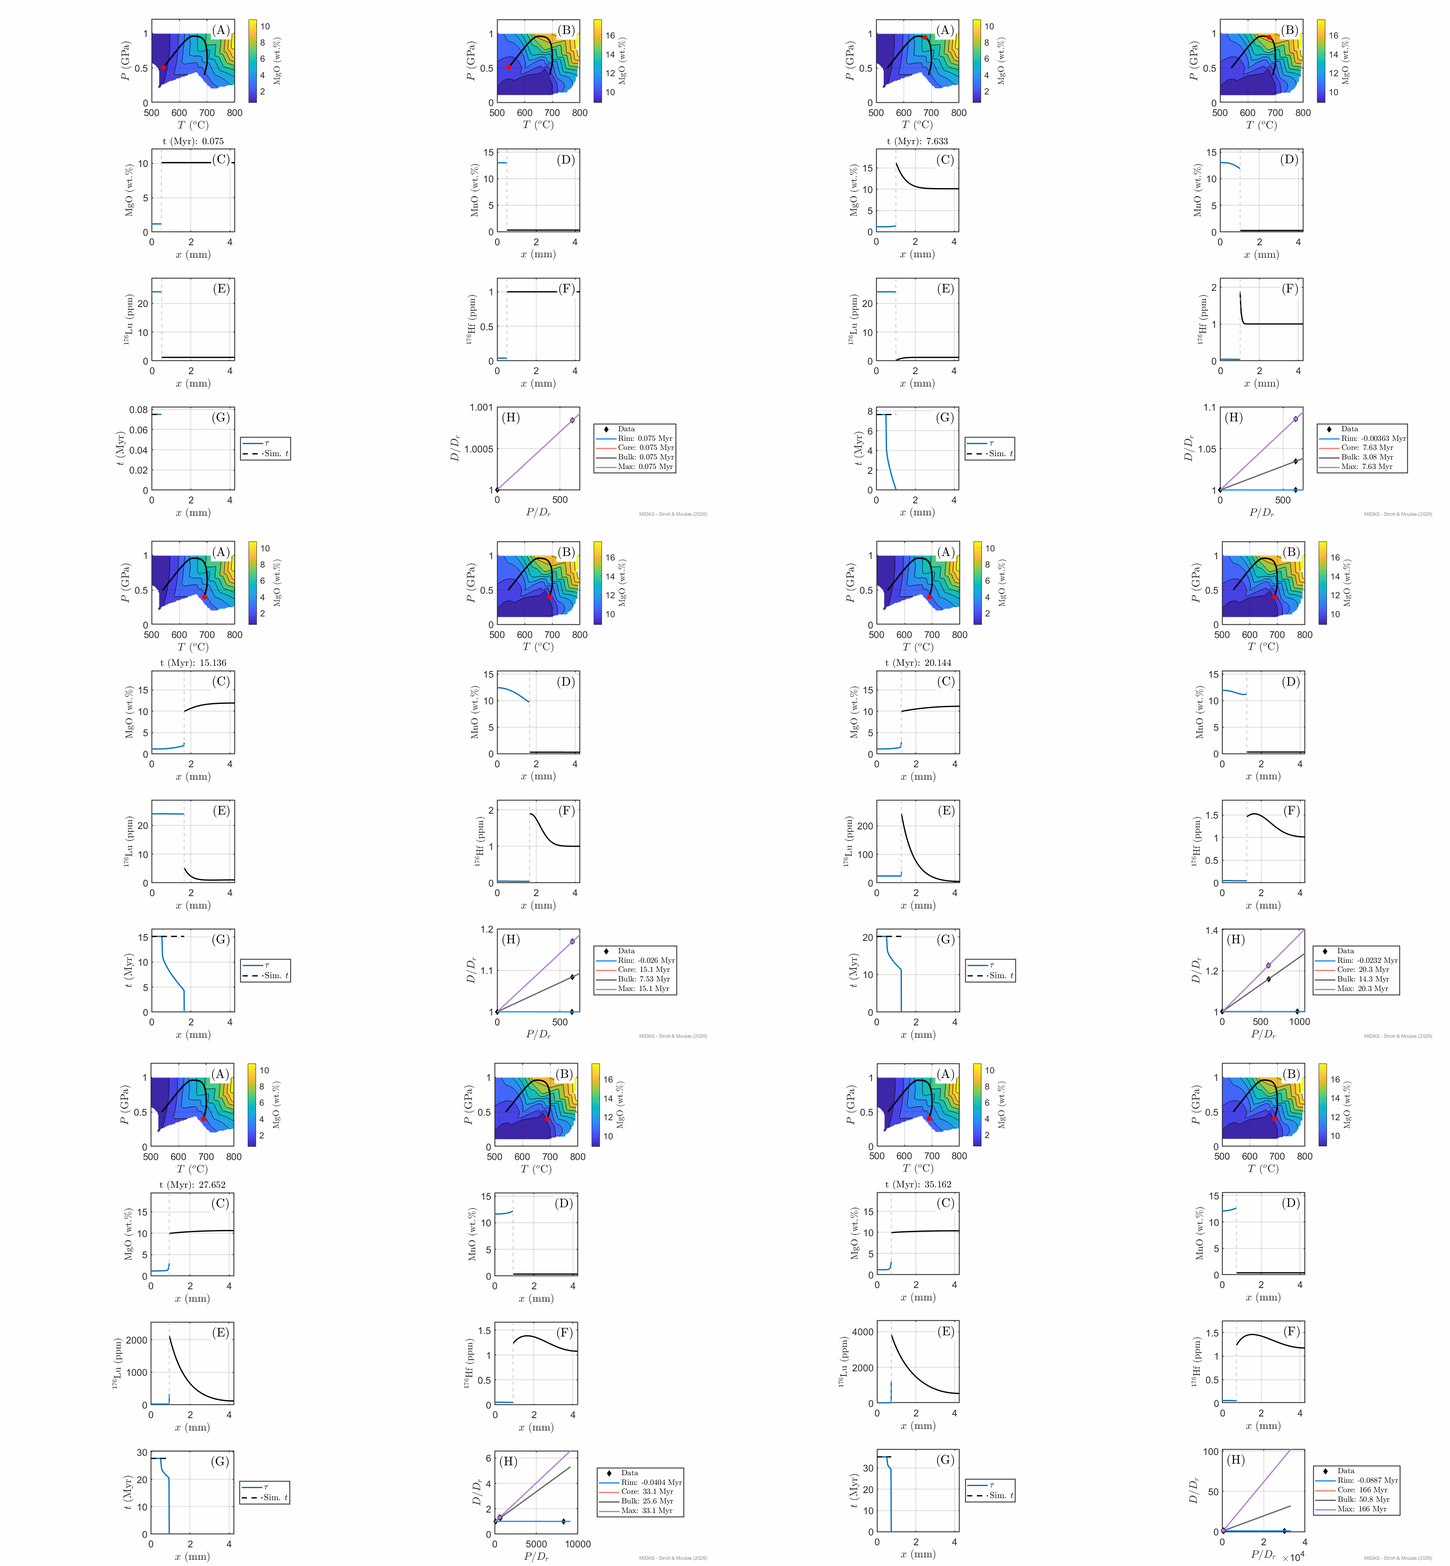
Same animation as Example1_Baseline’s above, for the cylindrical-growth configuration.
Coverage at a glance
| Mode switch | Values shown | Where |
|---|---|---|
PTmode |
'peak', 'Tbump' |
Examples 1/2/4/5/6, Example 3 |
eqMode |
'PD', 'poly' |
Examples 1/3/4/5/6, Example 2 |
MnMode / MniBMode |
'PD'/'PD', 'fixed'/'manual' |
Examples 1/3/5/6, Examples 2/4 |
ndim |
3 (spherical), 1 (planar), 2 (cylindrical) | Examples 1-4, Example 5, Example 6 |
isoRefMode |
'core', 'bulk', 'wholerock' |
Examples 1/4/5/6, Example 2, Example 3 |
recordMode |
'time', 'iteration' |
Examples 1/3/4/5/6, Example 2 |